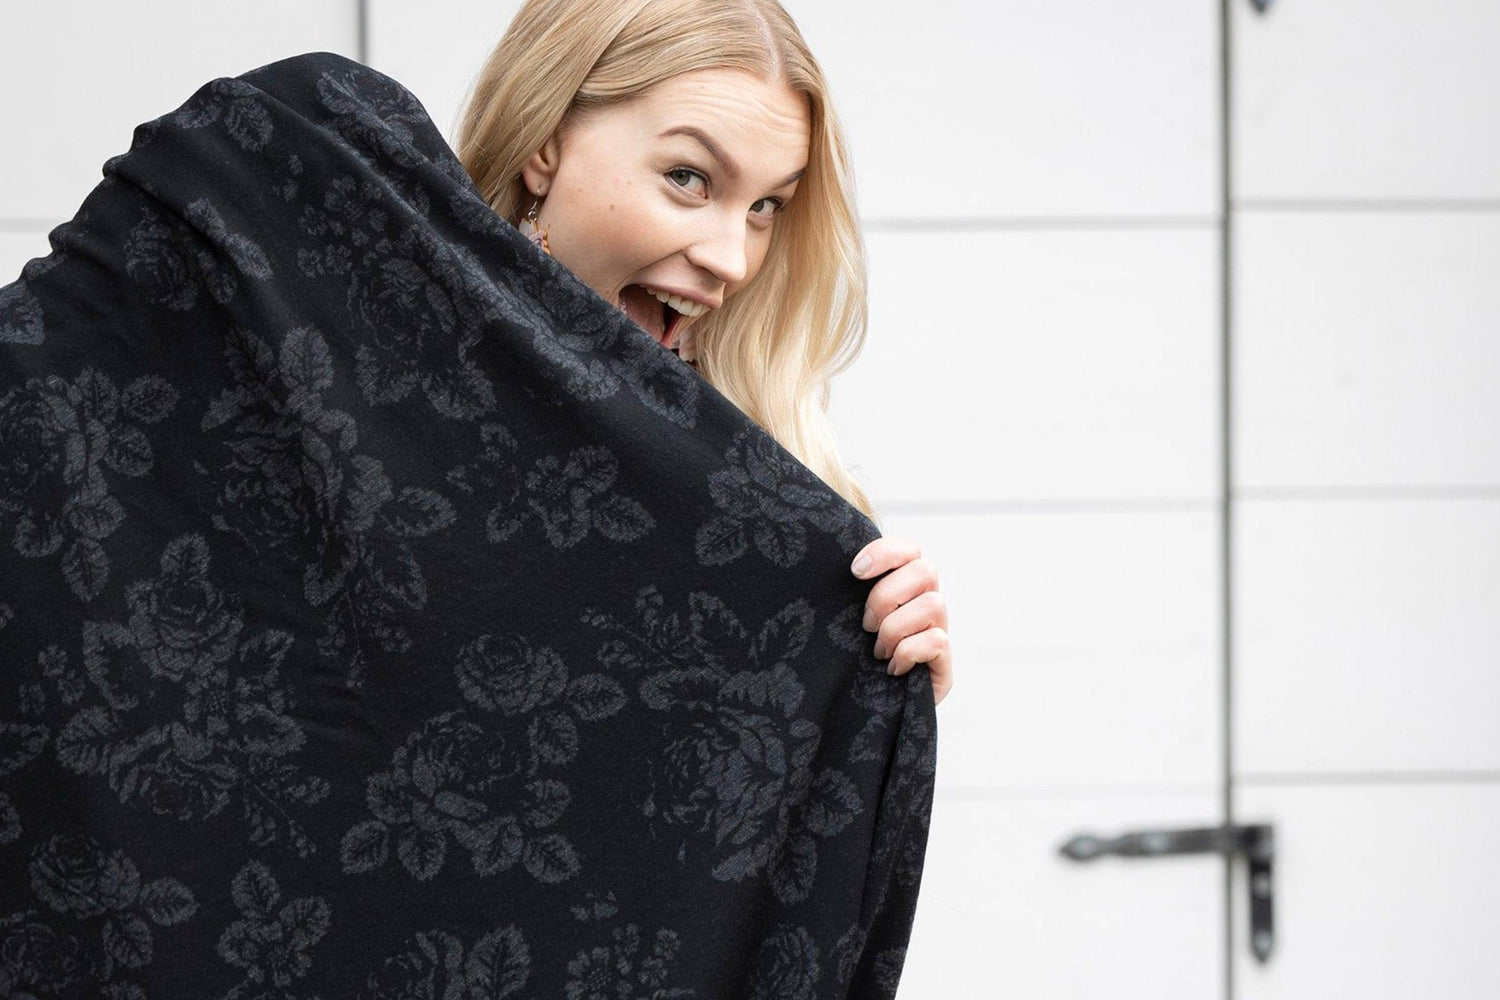
Accessories are fun to sew as they are quick to make and add warmth and spice to your outfits. Popular accessories are also a wonderful gift idea for a loved one or a friend. Sew accessories from Ommellinen merino wool, which is knitted in Finland from mulesing-free wool.
Sew a tube scarf
A rich and warm tube scarf is wonderful to wrap around your neck under a jacket, but also on cool days as a companion to a Jättpaita shirt. Sew a tube scarf from Ommellinen merino wool.
1. Cut a piece of wool measuring 140 x 70 cm. If you are sewing your scarf from solid-colored, interlog-knitted merino wool, a width of 125 cm will be sufficient as it is more elastic.
2. Sew the long side together, right sides together.
3. Fold the tube in half, right sides together. Sew the short side together as a ring . Leave an opening for turning.
4. Turn the tube scarf right side out. Sew the opening closed with a straight stitch. Tadaa, it's done! Iron and wrap it beautifully around your neck.

Sew a headband
The headband is quick to sew and lovely to wear from autumn to spring. The bow on the headband can be placed beautifully on top of the head or hidden at the back of the neck.
1. Check your head circumference and cut a piece of fabric to the appropriate size. We made the headband from a 49 x 21 cm piece of merino wool. The higher the headband, the more voluminous and bow-like the headband will be. You will also need a 10 x 11 cm piece for the stuffing piece.
2. Sew the long side together, right sides together.
3. Turn the collar twice, right sides together. Sew a ring seam , remember to leave an opening for turning. Turn the collar right side out.
4. Sew a separate bow. Sew the long side of the tuft together and turn right side out.
5. Place the loop around the headband with the right sides facing each other. Sew the ends of the loop together. The height of the loop affects the appearance of the bow.
6. Stitch a reinforcement stitch into the seam of the loop and turn the loop right side out.
7. Sew the opening for the collar with a straight stitch and the collar will be ready in no time!

Sew leg warmers
Leg warmers are great to wear to protect your ankles while walking and as a companion to your skates, but they also look cute when paired with leggings , for example, a T-shirt .

1. Cut two pieces of merino wool for the gaiters according to the measurements. Note that the pieces are wider at the top. You will also need a 1 cm wide elastic band, about 27 cm long.
2. Using a flat seam or other stretchy stitch, make 4 cm turns at the top edges and 3 cm turns at the bottom edges.
3. Sew the long side together, right sides together. Do the same for both leggings.
4. Attach the elastic band about two centimeters from the top and bottom edges.
5. Using the straight edge of your sewing machine, sew the elastic band to the length of the leggings.
6. Make the trenches on the top and bottom edges by turning the seam allowances towards the back piece and stitching from the right side, about a presser foot away from the side seam. The ends of the elastic will be hidden under the seam. Add the elastic to the other leg warmer as well. You are ready to go!
Sew fingerless gloves
Fingerless gloves will bring you warmth for long days at the computer, they are also perfect for moments when you need dexterity outdoors.


